Removing an antenna involves more than unbolting hardware. Improper removal can damage roofing, siding, or structural framing and create active leak points if not sealed correctly.
This guide explains how to remove an antenna step by step, including safety precautions, disconnection methods, mounting removal, and proper sealing to protect the structure afterward.
Step 1: Identify the Antenna Type and Mounting Method
Before removal, determine how the antenna is installed and what it is attached to.
Common antenna types include:
- Roof-mounted television antennas
- Mast-mounted antennas attached to fascia or gable ends
- Chimney-mounted antennas with strap kits
- Interior or attic-mounted antennas
Confirm how the antenna is supported:
- Lag bolts into rafters or framing
- Mounting brackets fastened through roofing
- Straps or bands around masonry chimneys
Never begin removal without understanding what structural elements are involved.
Step 2: Disconnect Power and Signal Cables
Antennas are typically connected to coaxial, grounding, or amplifier wiring that must be safely removed first.
- Disconnect coaxial cables from interior equipment
- Trace and free exterior cabling from clips or conduit
- Remove grounding wires bonded to electrical ground or rods
- Cap or remove unused wall penetrations
Some antennas include powered amplifiers. Verify all power sources are disconnected before proceeding.
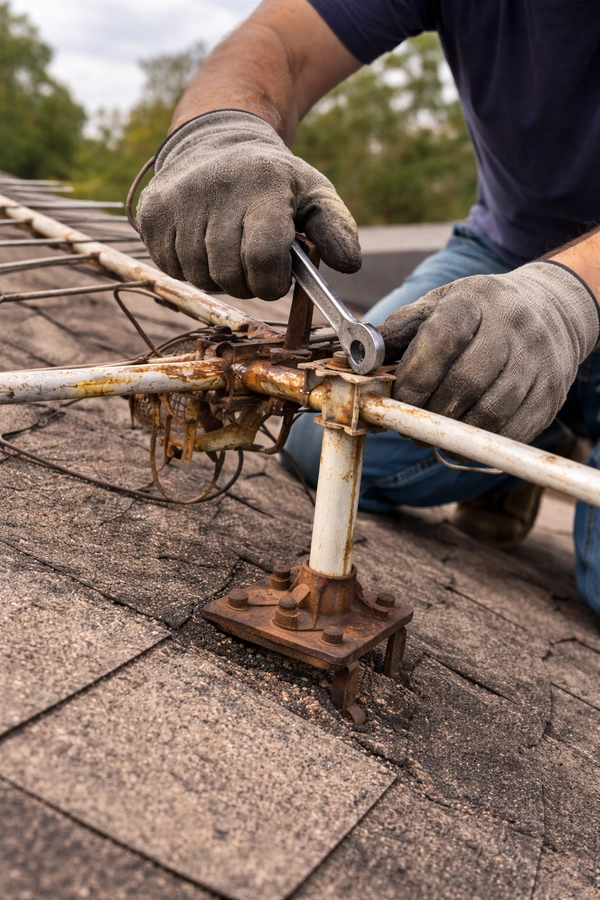
Step 3: Safely Remove the Antenna and Mast
Roof or Mast-Mounted Antennas
- Use proper fall protection and stable ladder access
- Loosen mounting hardware while supporting the mast
- Lower the antenna assembly carefully to the ground
Chimney-Mounted Antennas
- Cut or loosen metal strap kits evenly
- Prevent sudden release that could damage masonry
- Lower the antenna in sections if needed
Antennas can be top-heavy and awkward. Never attempt removal alone if the assembly is large.
Step 4: Remove Mounting Hardware
- Extract lag bolts, brackets, and flashing
- Inspect roof decking, siding, or framing for damage
- Remove abandoned anchors or fasteners
Leaving hardware behind often leads to leaks, corrosion, or future structural issues.
Step 5: Seal and Repair the Installation Area
- Fill all bolt holes with exterior-grade sealant or epoxy
- Replace or repair damaged shingles or siding
- Install proper flashing where roof penetrations existed
- Prime and paint exposed materials as needed
Proper sealing is the most critical step in preventing long-term water damage.
When to Hire a Professional
- Antennas mounted high or over steep roof pitches
- Penetrations through finished roofing systems
- Structural or chimney-mounted installations
- Evidence of existing leaks or rot
Professional removal reduces the risk of falls, roof damage, and improper sealing.